
How to plan garage storage and still fit your car
A five-step plan to organize your garage around the car: decide what the space must do, count your gear, measure, compare storage types and test one zone.
At a glance
The plan in 5 steps
Tap a card to jump to that part of the guide.
Start with the space you need to use every day. Then give your gear a home around it.
A garage can look organized and still be awkward to use. A shelf may fit against the wall while its bins block a car door. A bike stand may be compact while the handlebars reach into the walking route. Planning works best when you measure the things that move, as well as the things that stay put.
You do not need to replace everything. A useful first result might be moving one shelf, grouping loose equipment and labeling the bins you already own.
Step 1: Decide what the garage needs to do
Write down the jobs your garage must support: parking, getting a bike out, finding a tool or storing seasonal gear. Choose the one that causes the most friction. If parking is the priority, start with the car in its normal position. Open the doors and trunk as you normally would, and walk from the car to the house door.
Mark those working spaces on a simple sketch. Include the garage door's moving path, steps, fixed equipment and access points. These are constraints to plan around. There is no single clearance number that works for every vehicle, doorway and household.
Step 2: Count gear before counting shelves
Group similar items and record how often you use them. Everyday gear needs a place that is easy to reach and just as easy to put back. Seasonal items can go in a less convenient location if you can retrieve them safely.
Separate items to keep, relocate, donate or recycle. Check the bins, shelving and hooks you already own. Are they the right size? Can you read the labels? Would moving an existing shelf solve the problem? Make a list of missing storage only after this pass.
Step 3: Measure the usable space, including the gear
Record the width, height and depth available in each proposed storage zone. Choose inches or centimeters and use that unit consistently. One inch equals 2.54 centimeters. Measure around obstructions rather than treating the whole wall as usable.
Compare your measurements with both the organizer and its contents. For a bicycle, include the wheels, pedals and handlebars, plus the movement needed to roll it out. For a work area, allow room to use the tools and open drawers. A product's listed dimensions are not a promise that the complete setup will fit.
Put the measurements in one place
The free five-page Garage Space & Storage Planner includes a gear inventory, separate measurements, a full sketch page, storage comparison and action/label plan. Get the free planner. Download immediately. No email signup is required.
Step 4: Compare a few storage approaches
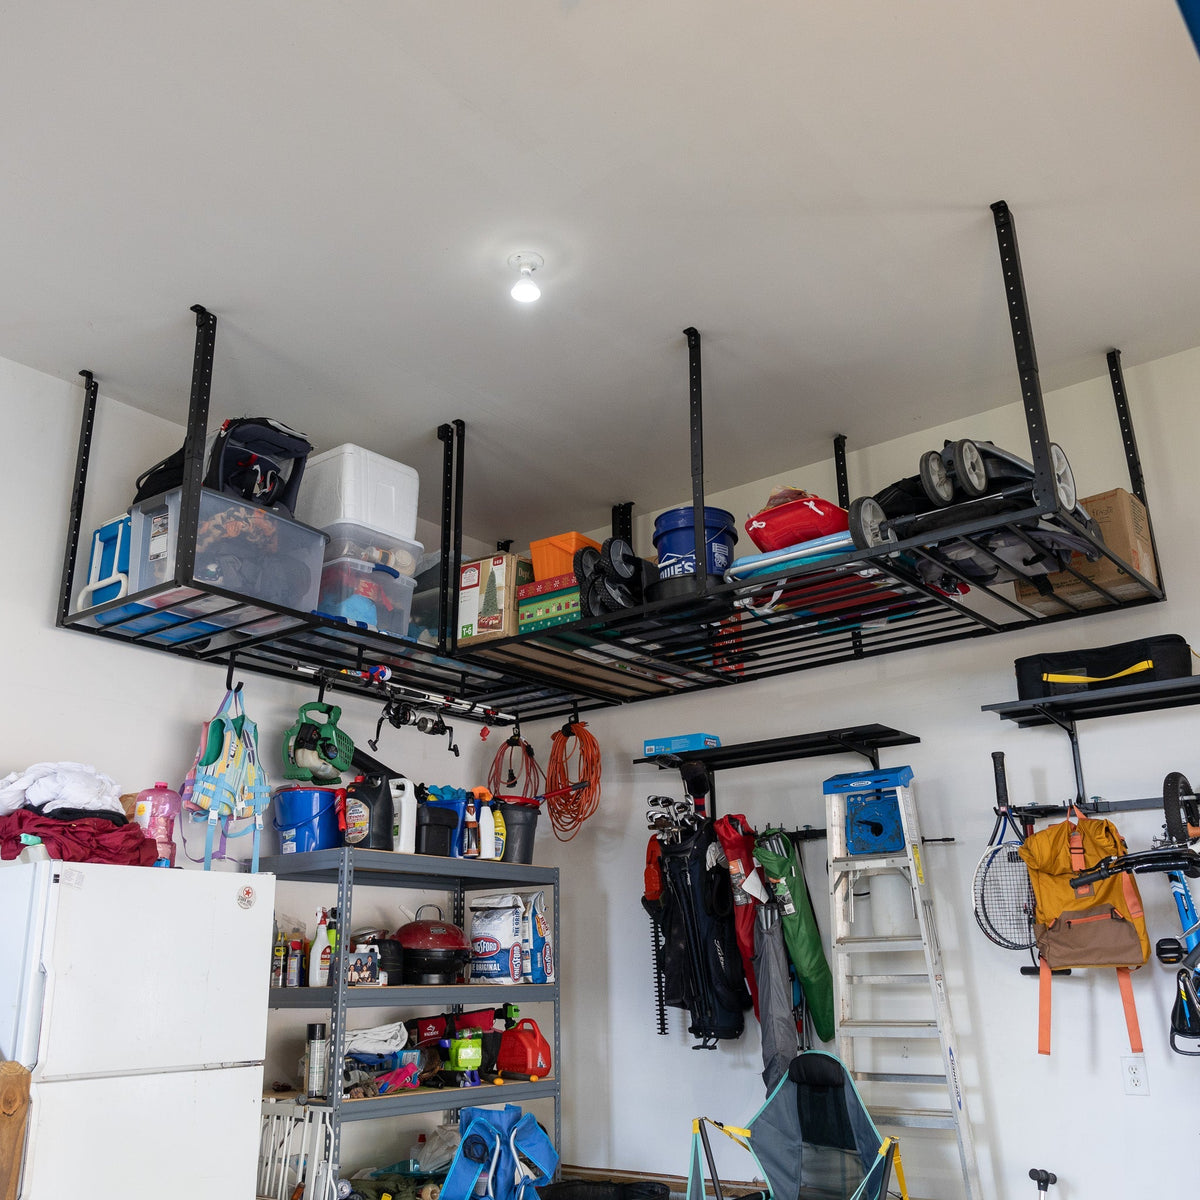
Floor storage can make frequent access simpler, but it uses parking and walking space. Wall storage can free floor area, but wall construction, mounting requirements and the loaded projection matter. Overhead storage needs particular attention to access, structural suitability and moving-door clearance. Follow the product's instructions and resolve installation questions before buying.
These three examples show what to check. They are options, not a shopping list:
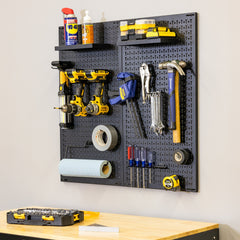
- 34" x 32" Pegboard - 13 Attachments: the listing includes two steel panels and 13 assorted attachments. Check the mounting instructions, your wall and the space occupied by the tools. The panel depth alone does not describe a loaded tool zone.
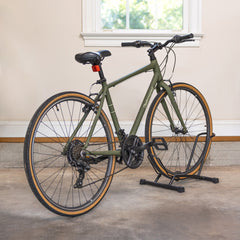
- CycleStand Bike Stand: a freestanding floor stand for one bike. The listing states a 30 x 14 x 15-inch stand, tires up to 3.5 inches wide and greater than 24 inches in diameter, and a maximum supported weight of 80 lb. Check all three fit limits and measure the full bicycle. This is the CycleStand, not the CycleStand Pro.
- Small Dry-Erase Magnetic Labels - 50 Pack: each label is 3.2 x 1.2 inches. Use them only on clean, magnet-compatible surfaces; check whether a magnet holds before choosing them for a cabinet or shelf. Existing paper labels may already do the job.
Use the current product page and supplier instructions for the final fit check. Check current price, availability and delivery information when you are ready to decide.

Step 5: Try one zone, then check parking again
Sketch the full outline of your chosen storage and gear before installation. If helpful, mark that outline with removable tape suitable for your floor. Keep loose items out of the route while you test it. Check doors, the trunk, the garage door and the walking route again.
Give each group a short label such as “bike care,” “hand tools” or “summer gear.” Put frequently used items where the people who use them can return them. Recheck the arrangement after a week of normal use. If it takes too many steps to put something away, adjust its home.
A useful garage plan is one that works on an ordinary day. Start with the gear and storage you have, change one zone, and keep the space you need to move.
Quick checklist
Tap each item as you go.
- Pick the one job the garage has to do best: parking, bikes, tools or seasonal gear.
- Sketch the car doors, trunk, garage door path and walking route.
- Group your gear and note how often each group gets used.
- Check the shelves, bins and hooks you already own before buying more.
- Measure the width, height and depth of each zone, plus the gear that goes there.
- Try one zone, then check doors and parking again after a week.


